1) Introduction

Required things:
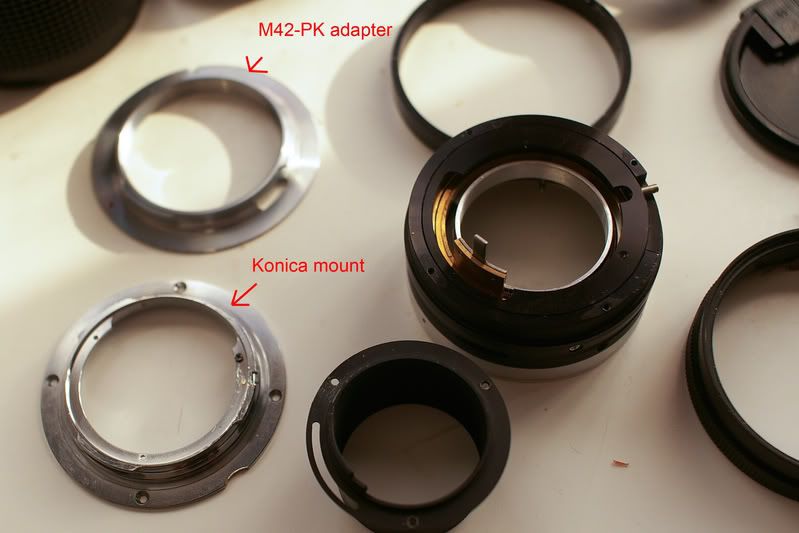
- A M42-PK adapter (~7$)
- Some screwdrivers with small diameter.
- A drilling machine with 2 drills: 2mm and 3mm.
- A file.
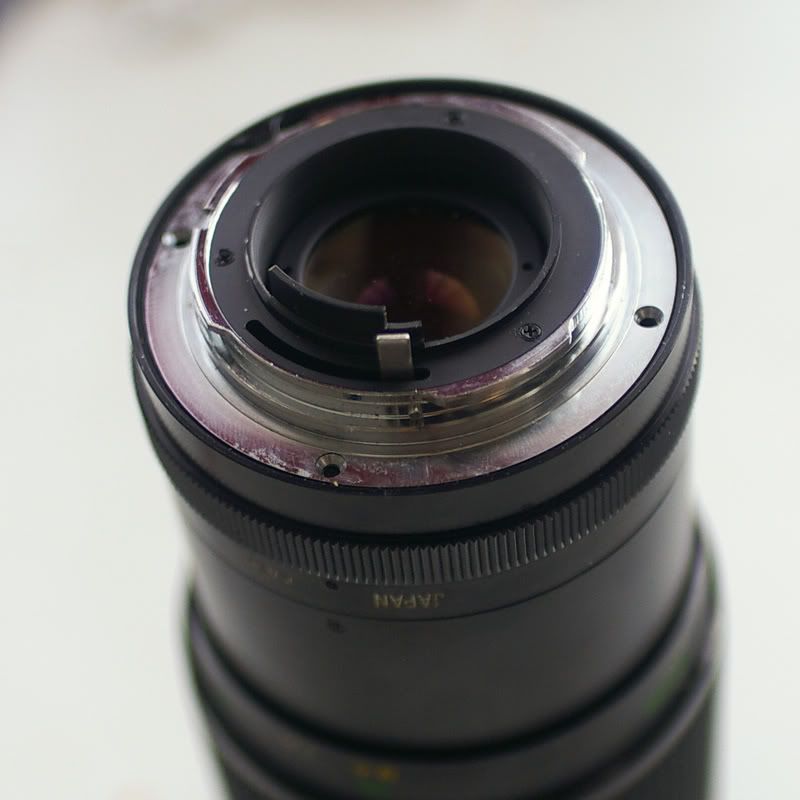
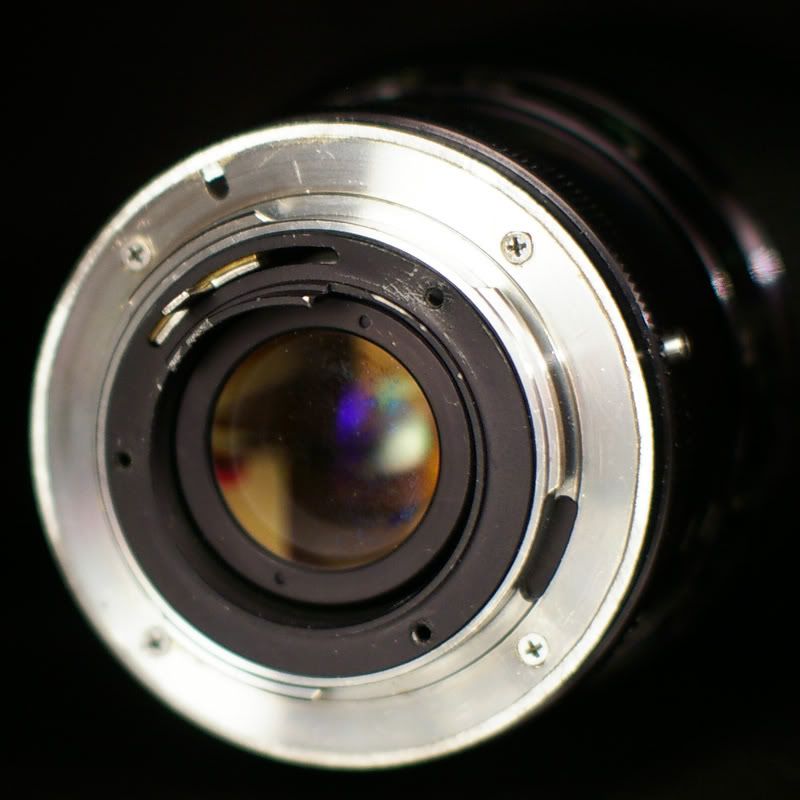
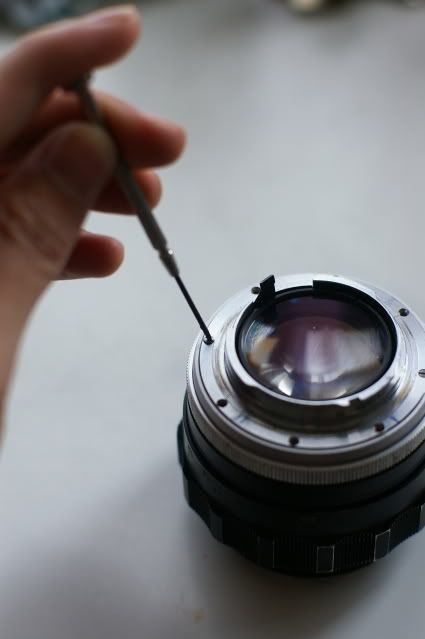
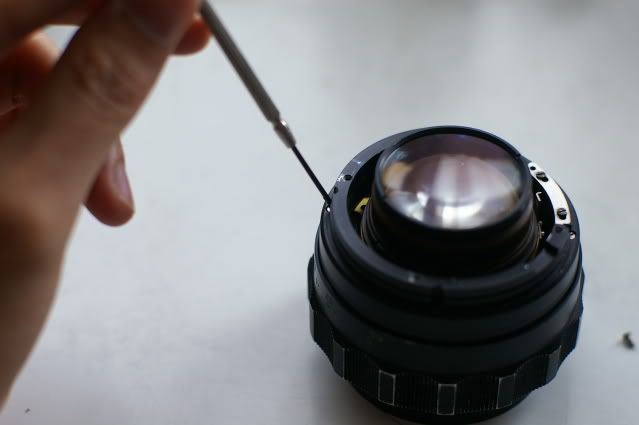
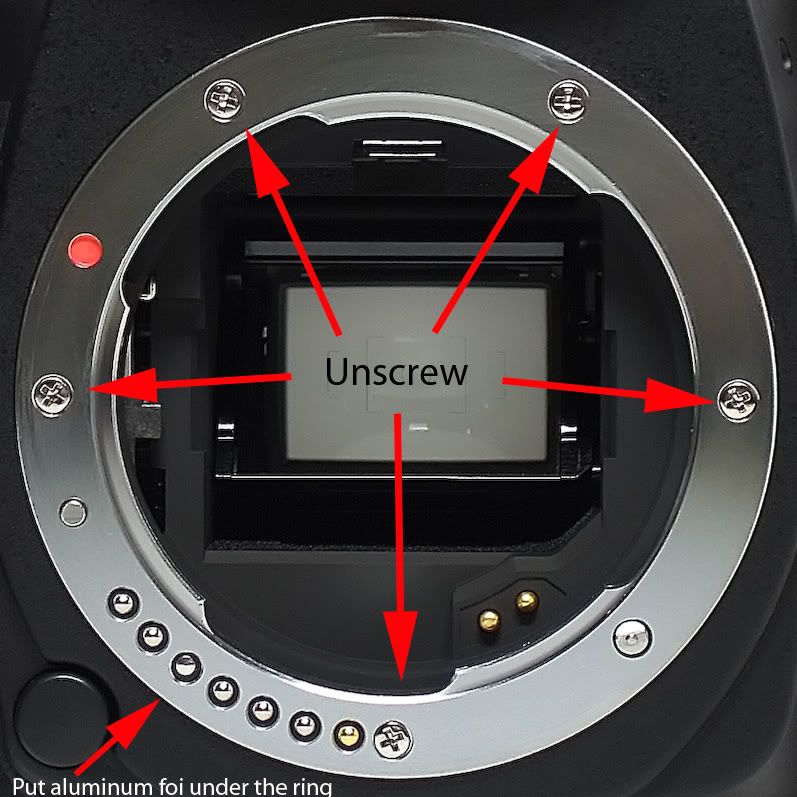
2)Disassembling the mount
There are 8 screws, we need to unscrew the 4 long ones, because the 4 short ones hold the diaphragm actuator with the mount.
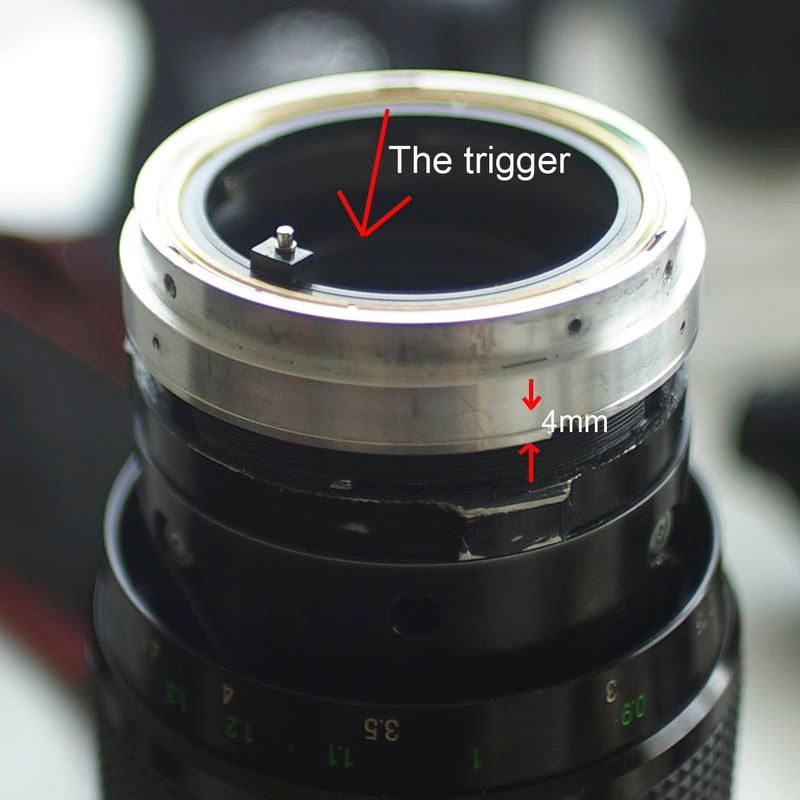
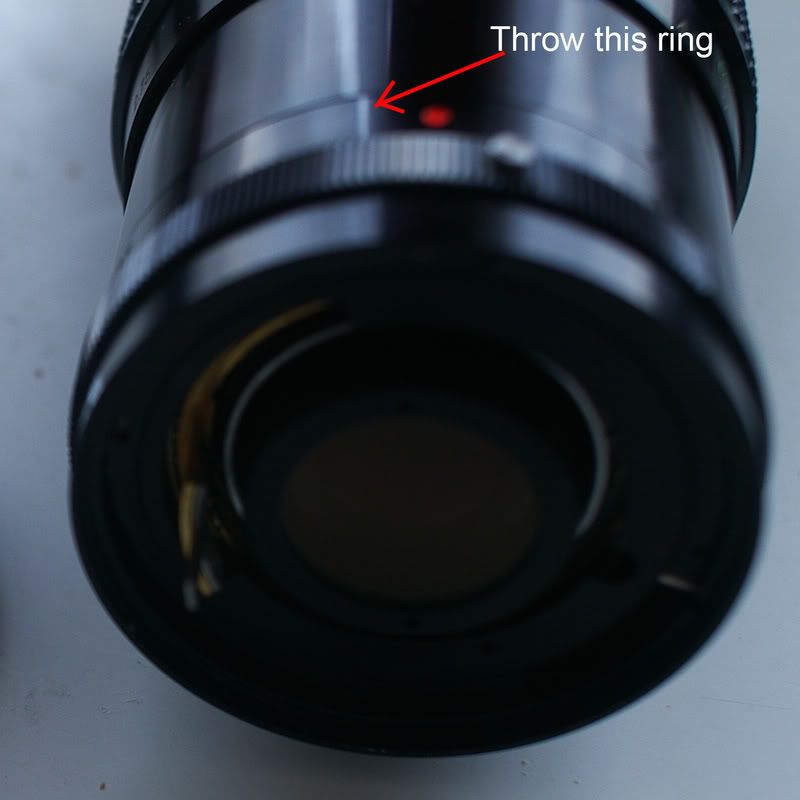
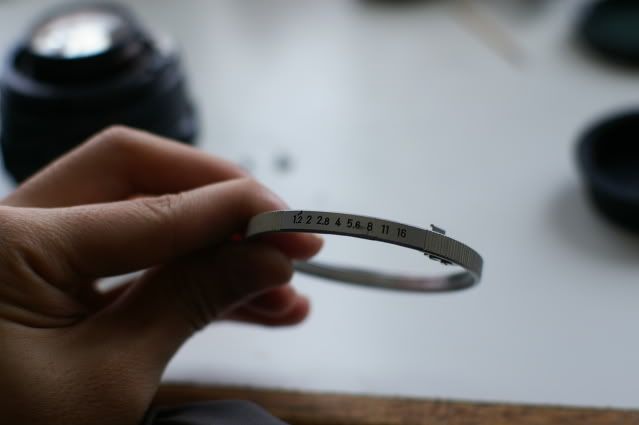
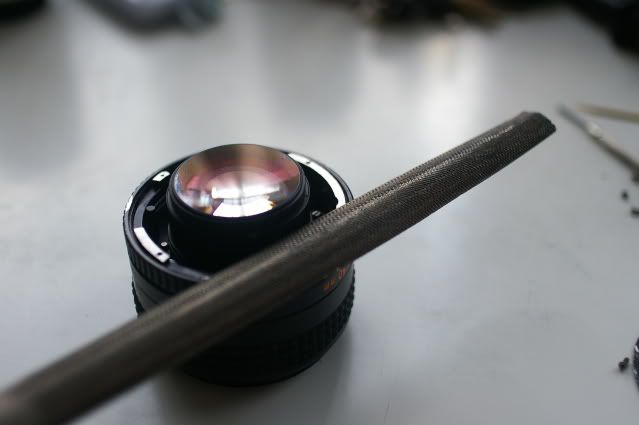
File off the ridge around the outside of the aperture ring.
Continue to unscrew the 4 screws of black ring.
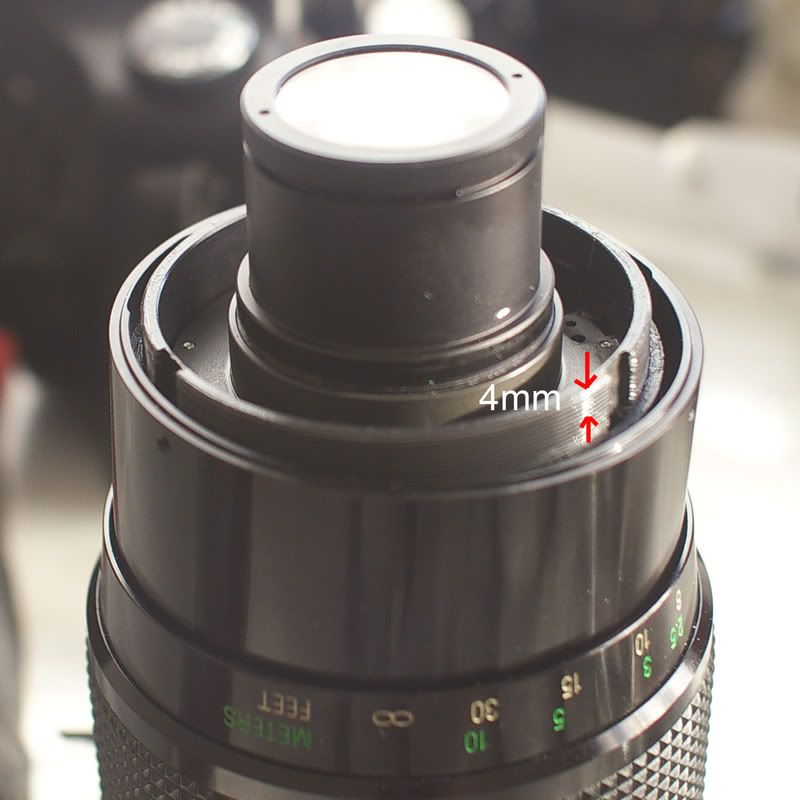
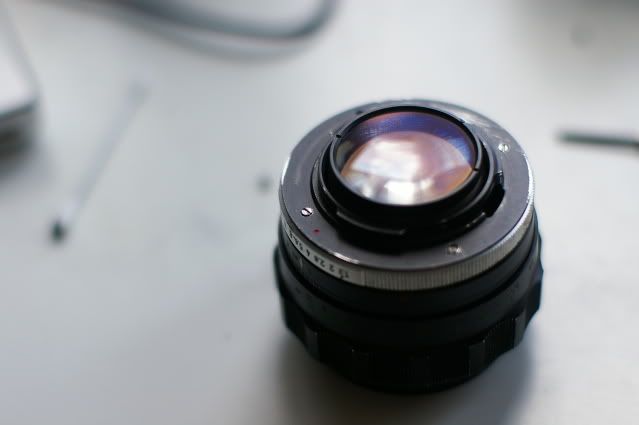
Rotate the aluminum ring in counterclockwise direction. Because we don't need the mount spacer which have a thickness 4mm. Therefore we must adjust 4 - 1.74 = 2.26mm in height by rotating the ring.

3)Reassembling the new mount:
After rotating, we re-screw the black ring.
Drill the 4 holes respectively on the M42-PK adapter.

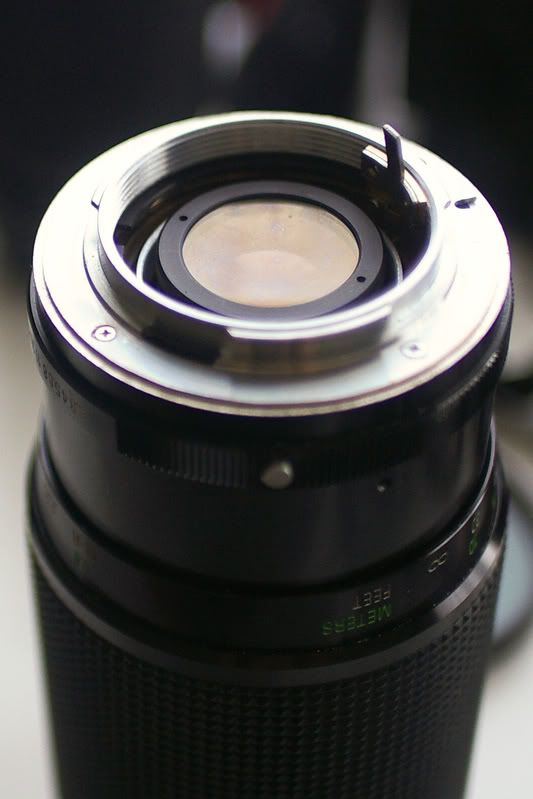
Place the aperture ring in its position with the ball ring. Beware of the ball ring. It is very small, Do not lost it.
Re-screw 4 long screws on the new PK mount.
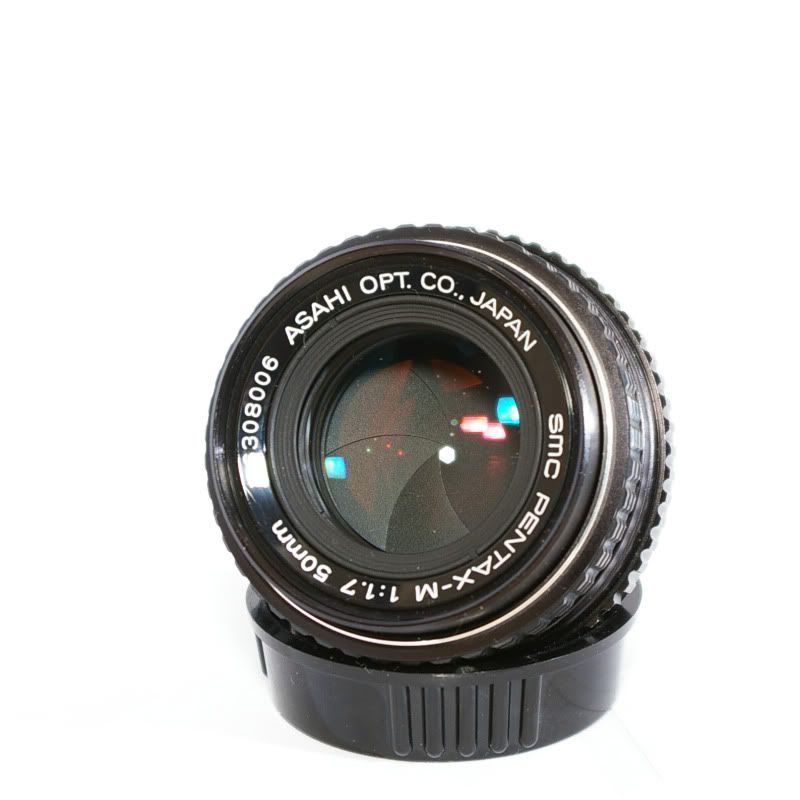
Voilà, the conversion is done.
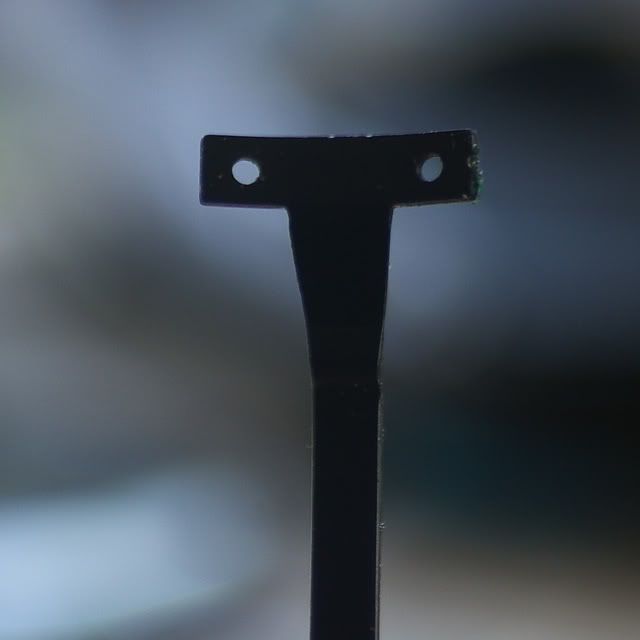
We can do the same way with Minolta Rokkor-X 50mm f/1.2. This is the later version with MD mount. This lens has not the spacer mount, therefore we must file the lens cover as the image.
I converted the Kiron 28mm f/2 as the same way of the Rokkor-X 50mm. Its focal length is smaller, so it needed to file more precisely in order to focus to the infinity.
Here some results of Kiron 28mm with infinity focus:

Click on the image to view it in a larger size


 )
)